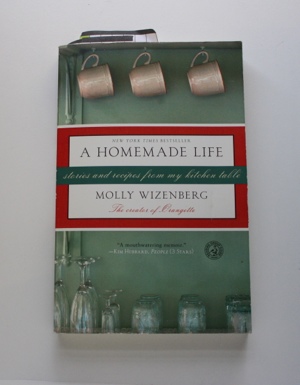
Monday Reviews- A Homemade Life

20120813-231720.jpg
Sometimes when I’ve finished a book that I really love, I clutch it to my chest and hug it. It can be for a number of reasons, a beautiful story, a character I really relate to, or a flawless writing style. Please tell me I’m not the only one who does this. Anyone?
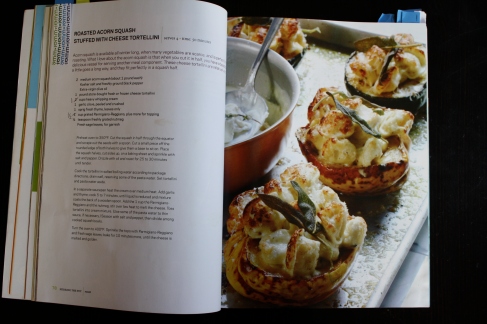
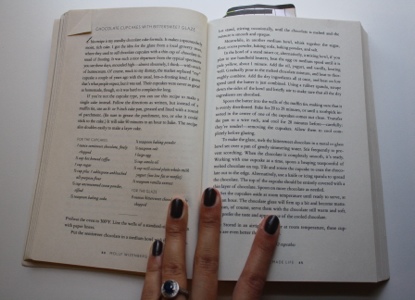
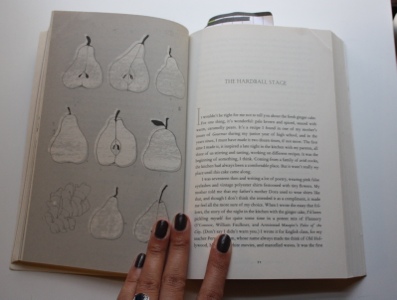
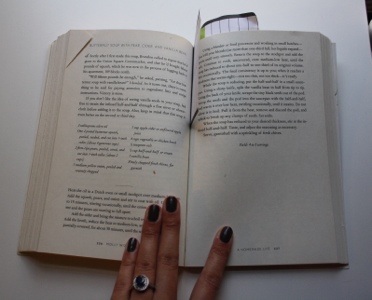
In the past it has only been novels that have elicited such a loving response, but that all changed when I read “A Homemade Life” by Molly Wizenberg. This was the first cookbook that when I finished, I closed it, took a deep breath, then pulled it into an actual embrace (I also do this with new shoes and I’m sure my husband wonders how he got roped into marrying me). At first glance, I would not have expected to feel this way about this book because it has my least favorite book/cookbook elements. Short stories and no pictures. But from the first page, I knew I had to have this book. The way Molly writes and the stories she tells all blend seamlessly into one another and are told with such rich descriptions, that you can see what she’s baking even without a picture. This book takes you through the life of the Orangette author from the time she is little until the day she gets married. Each story is followed by a recipe that accompanies it. From the Tarte Tatin she makes after her first horrible heartbreak to the cake that introduced her to her future husband. Each chapter ties her life and love of food into a beautiful book you will never want to end. The only reason I ever stopped reading it was my craving for all of the delicious recipes. I hope you run out and read this book today, and when you’ve finished, if you hug it, tell me okay?
20120813-232149.jpg
Of all the recipes in this book, the one I’ve made the most is her Butternut Soup. As it is only 70 degrees here today and I have a cold that won’t go away I’m in the mood for a little fall comfort food (And lots of Lemon Chicken Soup).
20120813-232200.jpg

    Butternut Squash Soup with Apples and Vanilla Cream

    Adapted from “A Homemade Life” by Molly Wizenberg
    3 tablespoons olive oil
    One 2 pound butternut squash, peeled, seeded, and cut into 1 inch cubes (about 4 generous cups)
    2 apples, peeled, cored, and cut into 1 inch cubes (about 2 cups)
    1 medium yellow onion peeled and corsely chopped
    1 cup apple cider
    4 cups vegetable or chicken broth
    1/2 teaspoon salt
    1/2 cup heavy cream
    1 vanilla bean

    Heat the oil in a Dutch oven over medium-low heat. Add the squash, apples, and onion and stir to coat with oil. Cook for 10-15 minutes, stirring occasionally, until the onion is soft and transparent. Add the cider and bring the mixture to a boil over medium-high heat. Add the broth, reduce the heat to medium-low, and simmer, partially covered for about 30 minutes, until the squash is tender. Using a blender or handheld mixer purée until very smooth. Return to pot, if needed, and continue to cook, uncovered, over medium-low heat, until the soup has reduced by one-third it’s original volume. While the soup is reducing, put the heavy cream in a small saucepan. Using a sharp knife, split the vanilla bean in half from top to bottom. Using the back of your knife, scrape the seeds out of the pod. Add seeds and pod to saucepan with the cream and warm over low heat, swirling occasionally, until it steams. Do not allow it to boil. Remove from heat and discard pod. Set aside. When the soup has reduced to you desired thickness, stir in the infused cream. Taste and adjust seasonings as necessary.

    20120813-232210.jpg

Guest Blogging

20120813-100459.jpg
I am so excited to guest blog for my good friend Morgan at The Smore’s. Party of Four. Morgan is a super crafty momma to the sweetest little girl and has a little boy on the way! Her blog documents the life of her family’s adventures, home decor, crafts, and recipes. Check out my post here.

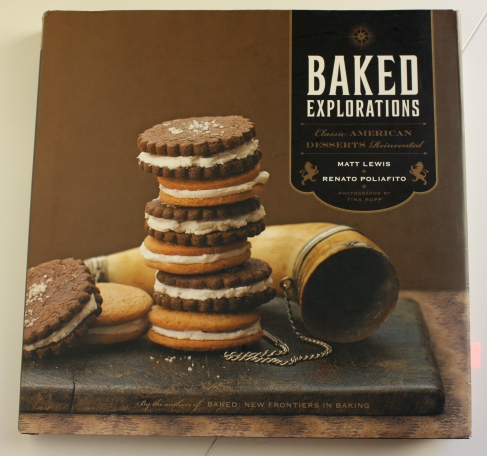
Monday Reviews- Baked Explorations

Image

I realized I haven’t talked about my dad much yet. This is mostly due to the fact that the man is never in the kitchen. His idea of gourmet is to fry some bologna in a pan and add “decorative mustard swirls”. One day I caught him eating a sandwich with as much gusto as one would an expensive steak, saying out loud, “this is amazing”. Curious what could garner such a response from a man who has dined all over the world I walked over to find him eating, a peanut butter and jelly sandwich (Jif and Welch’s respectfully).

He is easily impressed by the simple things in life.

Image

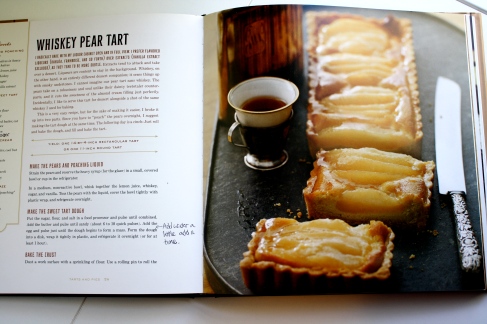
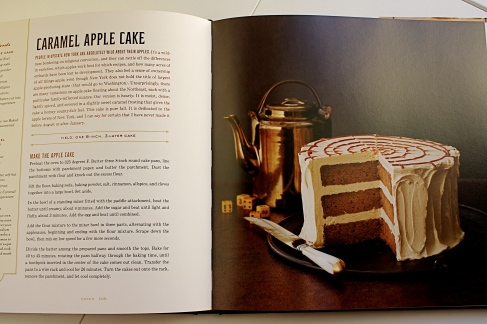
One of his favorite desserts is pound cake-this apparently goes back to a distant Aunt who used to make it for him when he was little. The first bundt cake I made for my dad reminded him of the cake from his childhood and came from “Baked Explorations: Classic American Desserts Reinvented”. This cookbook along with their first cookbook has quickly become my go to for everything from breakfasts to birthday cakes. It was written by the owners of the Baked Bakery in New York and it is my goal to get there before I turn 30. The whole premise of the book was to take classic American desserts and bring them back to life (strawberry jello salad anyone?) or in some cases make them better (black and white cookies).  Something to keep in mind is that many of these recipes have a lot of steps and some are a little trickier for a beginning baker. Others just take time, like the Mississippi Mud Pie cake. However no matter how many steps they take, each recipe consistently yields delicious desserts that will impress anyone you serve it to. What I love most about both this book and its predecessor is the passion the authors have for baked goods. From the photographs to the paragraphs before each recipe, you can’t help but be inspired to make something delicious for someone you love.

This is the cake I made my dad, I’m pretty sure he liked it even more then PB&J.

Olive Oil Orange Bundt Cake

Recipe from “Baked Explorations: Classic American Desserts Reinvented” by Matt Lewis and Renato Poliafito

Makes one 10-inch bundt

  • 3 cups all purpose flour
  • 1 Tablespoon baking powder
  • ½ teaspoon salt
  • 4 large eggs, separated
  • 2 cups granulated sugar
  • 1 cup plain yogurt
  • ¾ cup good quality extra-virgin olive oil
  • Freshly grated zest of two oranges
  • 1 ½ teaspoons pure vanilla extract
  • ¼ cup confectioners sugar, sifted for dusting

Preheat the oven to 350 degrees F. Generously spray the inside of a 10-inch Bundt pan with nonstick cooking spray. In a large bowl, whisk together the flour, baking powder, and salt. Set aside.

In the bowl of a standing mixer fitted with the paddle attachment, beat the egg yolks until they are pale and light; slowly pour in the sugar until it is completely incorporated. Add the yogurt and olive oil and mix until thoroughly combined. Add the orange zest and vanilla, and mix until just incorporated. Add the flour mixture to the wet ingredients in two parts, beating after each addition until just combined (this will take about 10 seconds). Scrape down the bowl and beat again for 5 seconds. In another large bowl, beat the egg whites until stiff peas form. Scoop 1 cup of the egg whites in the batter. Use a rubber spatula to gently fold them in. After about 30 seconds of folding, add the remaining egg whites and gently fold until they are almost completely combined. Do not rush the folding process. Pour the better into the prepared pan and bake for 40-50 minutes, rotating the pan halfway through the baking time, or until a small sharp knife inserted into the cake comes out clean. Transfer the pan to a wire rack to cool completely. Gently loosen the sides of the cake from the pan. Just before serving, dust the cake with confectioners’ sugar. The cake can be stored at room temperature, covered tightly, for up to 3 days.

Image

Everything Caramel Corn

Image

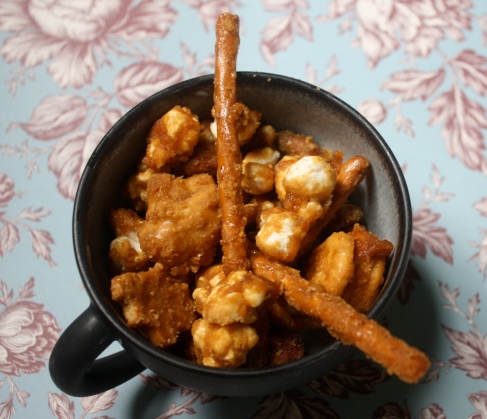
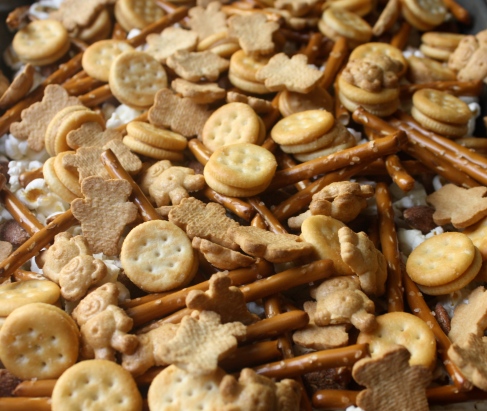
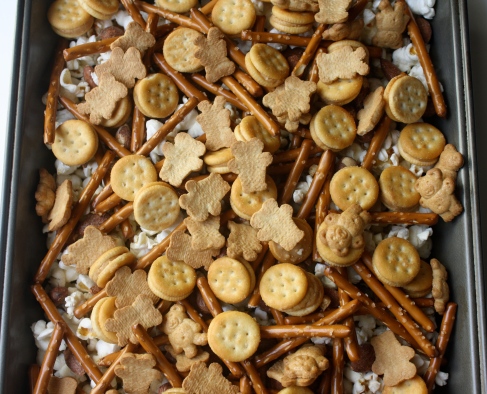
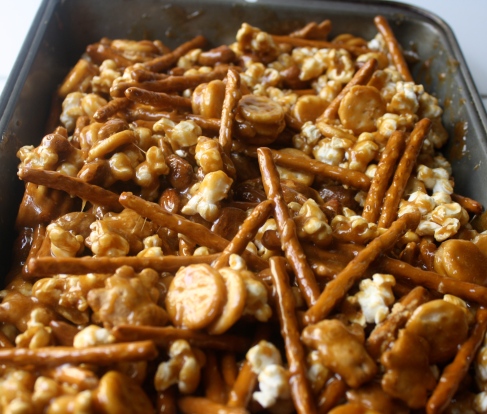
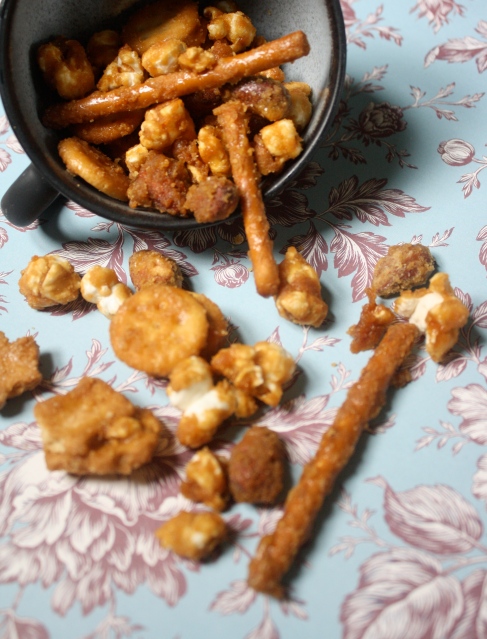
Every summer my husband packs up his sleeping bag, a few pairs of shorts, and Lego (our big dog) to go canoeing down a river for 4 days with a bunch of other guys. They jump off rocks, drink whiskey, smoke cigars, and sleep outside. I worry every year about his safety sure, but I worry even more that on one of these trips he is going to buy some land on the river and move us down there. And as much as I love fresh food, I love target and indoor plumbing even more. So this year I decided to send him off on his trip with a little reminder of home. I briefly considered a framed picture of me and the dogs but didn’t think that would have the intended effect. Searching through my “Joy the Baker” cookbook, I found my answer. Popcorn, pretzels, peanut butter ritz bitz, and other treats coated in caramel corn and baked. Salty, sweet, and it can’t be recreated in the wilderness. Perfect!

Image

Image

{these little guys are ready for a caramel party}

Image

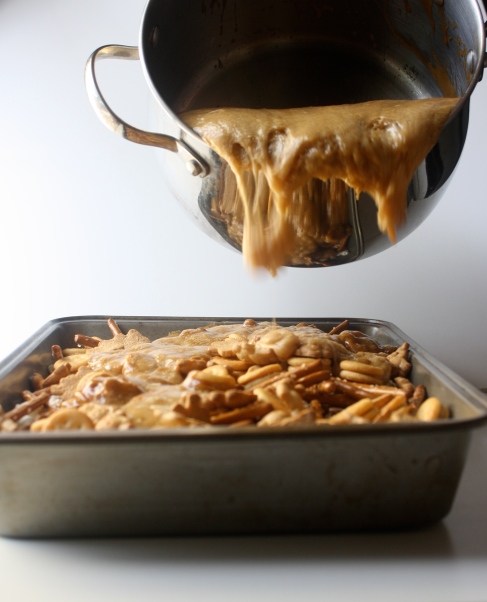
{action shot}

Image

{only the thought of a burnt tongue stopped me from stuffing my face at this point}

From the Joy the Baker Cookbook by Joy Wilson

Everything Caramel Corn

Makes about 12 Cups

For the Popcorn Mixture:

  • 2 Tablespoons vegetable oil
  • ¼ cup yellow popcorn
  • ½ teaspoon salt
  • 1 cup dry roasted almonds
  • 1 ½ cups pretzel sticks (2 big handfuls)
  • 1 ½ cups peanut butter sandwich crackers
  • 1 ½ cups teddy grahams*

For the caramel:

  • 1 cup (2 sticks) unsalted butter
  • 2 cups packed brown sugar
  • ¾ cup light corn syrup
  • 1 teaspoon salt
  • 1 teaspoon baking soda

*Not part of the original recipe.

To make the popcorn mixture: in a large pan over medium-high heat, warm oil. Add the corn kernels and place a lid, slightly ajar, over the pot. Pop the popcorn until the popping sound subsides. Turn off the heat, carefully pour the hot popcorn into a large bowl and sprinkle with salt.

In a 9×13- inch pan, measure 7 heaping cups of popcorn, being sure to avoid any unpopped kernels. Top popcorn with almonds, pretzel sticks, crackers, and grahams. Set aside.

Place rack in the center of the oven and preheat to 200 degrees F.

To make the caramel: combine butter, brown sugar, corn syrup, and salt in a medium, heavy-bottomed saucepan. Carefully whisk the mixture as it heats and the sugar melts. Boil the sugar and butter mixture for 5 minutes. Remove from heat and add baking soda. Whisk well. Carefully pour the sugar mixture into the 9×13-inch pan over the popcorn mixture. Use a large wooden spoon to toss the two together making sure that every bit of the popcorn mixture is coated in caramel. Be careful- you don’t want the hot sugar to touch your hands. It burns!

Place pan in the oven and bake for 45 minutes, removing the pan to toss every 15 minutes. Once baked, remove from oven. Carefully spoon onto sheets of waxed paper to dry. Once dry, store in an airtight container. Popcorn will last, stored in an airtight container, at room temperature, for up to 1 week.

Image

Ham Cups with Eggs

Image

My mom was a big fan of traditions. Every New Years Eve while my dad worked the night shift in the ED, my mom would gather up my sisters, brother, and I, and make us elaborate treats instead of our usual dinner. This included ham, swiss, and pineapple skewers, chocolate covered frozen bananas, petite fours, and plastic champagne glasses filled to the brim with sparkling grape juice. As we waited for midnight to arrive we would always watch “Sabrina” with Audrey Hepburn and Humphrey Bogart. Her very favorite part was the scene where she learns how to crack eggs one handed. One year on new years day my mom decided it was time I learned how to crack an egg “Audrey style”. She took out a big bowl and a dozen eggs. She showed me how to quickly crack and separate the shells using only one hand. Then she watched as I attempted to do the same. It wasn’t pretty and we spent a fair amount of time picking shells out of the bowl but after the first 6 eggs I figured it out and have done it that way ever since. That was probably 15 years ago but every single time I crack an egg with one hand, I think of her. When I have kids I hope I remember that it’s the little things you do with them that they’ll remember forever.

 Image

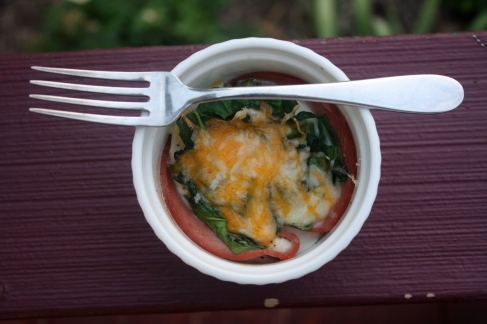
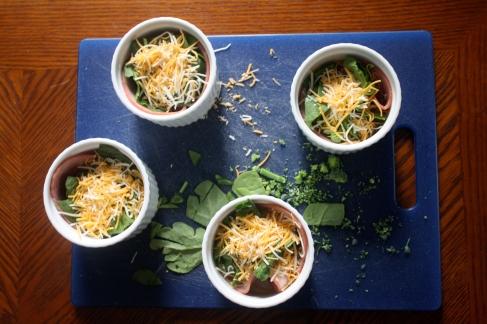
These ham cups with eggs are inspired by Gale Gand’s brunch cookbook and a few pinterest pictures. 🙂 Many of the recipes call for muffin tins but either my tins were too small or my ham was too large so I used ramekins instead. This breakfast is so delicious and can help you get rid of any leftover veggies you have. They are perfect to make in the morning since they can cook while you get ready and you can make as many or as few as you want.

 Image

Ham Cups with Eggs

Makes 4

  • 4 ham slices (1/16 inch thick)
  • 8 eggs
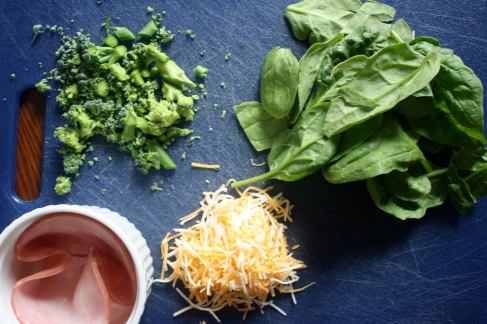
  • 1 big handful of spinach, roughly chopped
  • 1 Cup broccoli chopped
  • 1 Cup cheese (I used Colby jack)
  • Salt and freshly cracked pepper

Preheat the oven to 400F and butter your ramekins. Fold ham in half then in half again. Put the ham (point side down) into the ramekin and allow it to open. Carefully crack two eggs into liquid measuring cup (a paper cup would also work) then pour the eggs into the ham cups. Repeat with the remaining eggs (using two eggs in each ramekin). Top with spinach, broccoli, cheese, salt and pepper. Bake for 15-20 minutes, until whites are set but yolks are still a little runny.

Monday Reviews-Sara Foster’s Casual Cooking

Image

Monday Reviews

When I think about cucumbers, two things come to mind. The first is middle school spa days which were reserved for only the most elite sleepovers. My friends and I would buy an assortment of goop to put on our faces, toe separators for our pedicures, and cucumbers to put on our “puffy” eyes (7th grade is seriously stressful). The other is lunch with my mom. I’m not sure if she just didn’t like to take the time to make lunch or just liked simple meals so she could save room for dinner. Either way she had an arsenal of quick lunches she would make for us, bologna sandwiches, tuna salad, celery with cream cheese and paprika, and my favorite, cucumber salad. She would take a plastic bag add chopped cucumbers, white vinegar, and pepper. She would shake it up and put it in the fridge for 10 minutes. When they emerged the cucumbers were cold, tart, and crisp. I couldn’t get enough. Sometimes they were my after school snack and other times I would cut up an entire cucumber and eat it for lunch. Either way it was, and still is one of my favorite snacks.

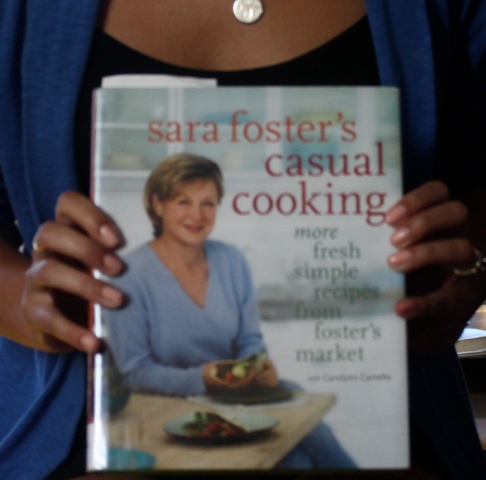
I read this cookbook while on our North Carolina trip. Sara Foster owns the popular Foster’s Market in Durham, North Carolina so I have heard plenty of good things about her. When I started reading I was first intrigued by the way the chapters were set up, for instance “Anytime Eggs” “Party Platters” and “Quesadillas, Tacos, Tostados, and Pizzas”. I liked immediately that Sara didn’t feel the need to stay inside the confines of the traditional breakfast, lunch, and dinner chapters. Mixed into these chapters she also had helpful recipes like, “ten tasty vinaigrettes” and “quick things to do with a bag of spinach”. I don’t know about you, but I can name at least ten times I’ve had to throw away a half full container of wilted, slimy spinach because I didn’t know what else to do with it. While her cookbook is not the most beautiful one on the market, her recipes are thoughtful, simple, quick, and so delicious. This is one of my new favorite books and I will be recommending this one to all my friends. It is perfect for new grads, bachelors, or anyone just learning to cook. 

Image

This recipe reminds me of my moms cucumbers with a few additions. It’s simple but impressive enough to make for a nice summer dinner.

Recipe from Sara Foster’s Casual Cooking by Sara Foster

Classic Cucumber Salad
Serves 4-6

•       1 hothouse seedless cucumber, peeled in strips and thinly sliced (about 3 cups)
•       3 Tablespoons white wine vinegar
•       2 Tablespoons extra virgin olive oil
•       2 Tablespoons chopped fresh dill, cilantro, or mint
•       Grated zest and juice of one lime
•       1 teaspoon sugar
•       Sea salt and freshly ground black pepper

Combine the cucumber, vinegar, olive oil, dill (or cilantro or mint), lime zest and juice, and sugar in a medium bowl and toss to mix. Cover the bowl and refrigerate for about 30 minutes to chill. Just before serving, season the salad to taste with salt and pepper and toss again.

RTK note: My cucumbers let off a lot of liquid while sitting in the fridge and I had to drain them before serving, you might want to do the same to avoid puddles on your plate.

Image

Southwestern Steak Tacos

Image

Sorry my posts have been so sporadic (does anyone else think of “Clueless” when they use that word?). Sometimes real life gets in the way. So I’m back, where were we? Right, summer.

It is summer in the Midwest, which means heat indexes above 100 and humidity that makes you feel like you are underwater every time you step outside. Growing up here Nick and I are used to the weather, but it is still nice to get away. Somehow we managed to miss the most brutal week of the summer so far by going on a little road trip to North Carolina. We spent a blissful week visiting family, eating, drinking, and seeing as much of this beautiful state as we could.

 Image

{“High Falls” in Asheville, NC}

We had such a great time! We went to Trader Joe’s for the first time (sad isn’t is?), hiked to waterfalls, went to our first (and last) “juke joint”, swam in the ocean, and made new friends. But I think the best part was getting to spend time with my husband. With 2 full time jobs between us, and Nick also in nursing school we don’t get to spend as much time together as we would like. It was a great change of pace to see each other everyday with only beer runs and platters of fried chicken keeping us apart.

 Image

{Scott (Lex’s Brother), Nick, Alexis, and I at the “Juke Joint”}

Image

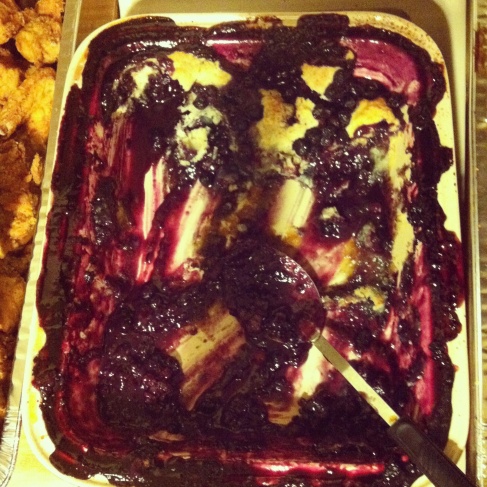
{Still waiting for the recipe for these blueberry dumplings-the best dessert I’ve ever had}

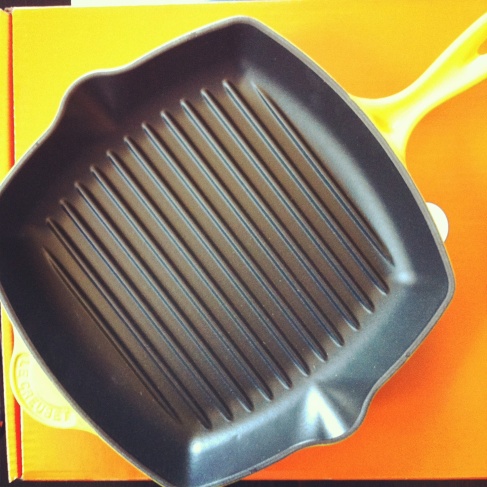
Naturally we brought home a few souvenirs to remind us our trip. Shells from the beach, honey from a local apiary, and remnants of the fruit basket my dad sent us on our last day. Oh and one more thing, a Le Creuset grill pan. On our way home we stopped at a pretty cool outlet mall outside of Raleigh that had a Le Creuset store and it just so happened that my color (Dijon) was on sale. I scooped it up and used it our second night home.

Image 

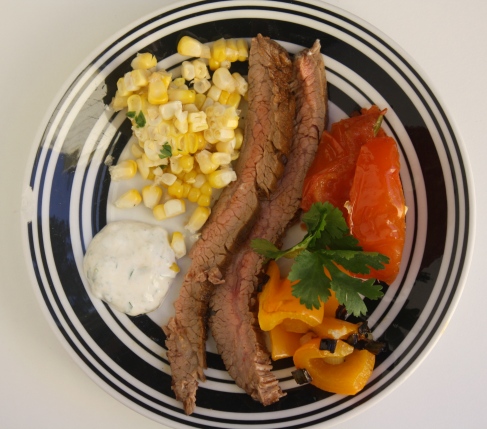
One of the books I read on our road trip was Sara Foster’s Casual Cooking. I’ll talk more about it on Monday but these steak tacos were good! This flank steak gets a quick marinade before getting thrown on the grill (or in your new grill pan). Toss in some veggies and jazzed up sour cream and dinner is ready. The leftover steak is also really good with eggs for breakfast. (Oh you will also notice the lack of tortillas in the pictures. I didn’t forget, but have to lay off the carbs and sugar (temporarily) for medical reasons. And oh how I miss them both)

Image

Recipe from Casual Cooking by Sara Foster

Southwestern Steak Tacos with Chopped Charred Summer Vegetables

Serves 2-4

  • 1 1 pound New York Strip steak 1 ½ inches thick
  • 1 lime, halved
  • 1 teaspoon ground cumin
  • 1 teaspoon chili powder
  • Freshly ground pepper
  • 2 ears of corns, husks and silks removed
  • 1 red pepper, cored, seeded, and cut into 2 inch chunks
  • 1 bunch scallions, cleaned and trimmed
  • 2 tomatoes, cored and quartered
  • Sea salt
  • 4 corn tortillas, warmed
  • ½ cup cilantro-lime sour cream (recipe follows)

Place the steak on a plate and squeeze the lime juice over both sides; sprinkle both sides with the cumin, chili powder, and pepper, and rub the seasonings into the steak. Set the steak aside to rest at room temperature while you grill the vegetables.

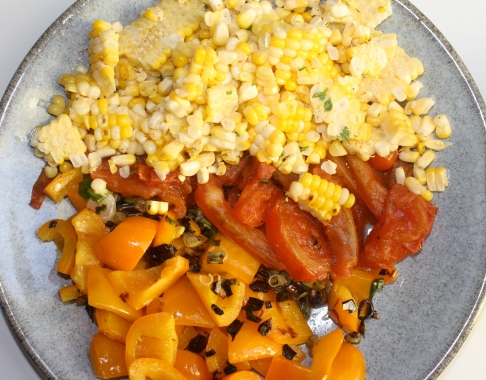
Heat a grill pan or cast-iron skillet over medium-high heat until hot. (Or prepare a hot fire in a charcoal or gas grill.) Put the corn, bell pepper, and scallions in the skillet to grill for about 5 minutes, turning often, until the vegetables are charred in places and the scallions are wilted. Transfer the vegetables to a plate to cool slightly Add the tomatoes to the skillet to char for about 5 minutes, turning often. Remove the tomatoes to the plate with the other vegetables. Roughly chop the pepper, scallions, and tomatoes and return them to the plate. Cut the corn kernels off the cob and mix with the other vegetables. Season the vegetables with salt and pepper, cover loosely with foil to keep warm, and set aside.

Season both sides of the steak with salt and grill for 5 to 6 minutes per side. Move the steak away from the direct fire, close to the grill or cover the steak with foil and cook for another 7 to 8 minutes, until an instant read thermometer reads 120 F for medium-rare (for medium cook the steaks a few more minutes, until the thermometer reads 130 F). Transfer the steak to a cutting board, cover loosely with foil, and let rest again for about 5 minutes. Thinly slice the steak on the diagonal against the grain.

To assemble the tacos, lay the warmed tortillas on a work surface or platter. Lay the steak slices down the center of the tortillas and spoon the vegetables over the steak, dividing them evenly. Top with mixed greens and a dollop of the cilantro-lime sour cream, fold in half, and serve.

Image

Cilantro-Lime Sour Cream

Makes about 1 cup

  • 1 cup sour cream
  • 2 tablespoons chopped fresh cilantro
  • 1 teaspoon ground cumin
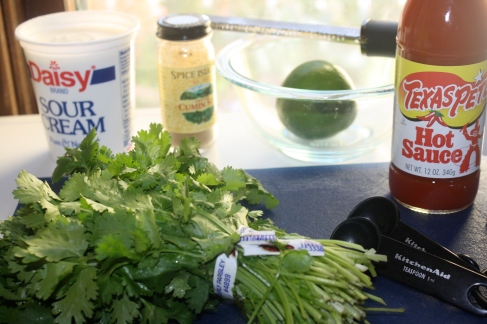
  • 1 teaspoon hot sauce, such as Texas Pete or Tabasco
  • Grated zest and juice of 1 lime

Combine the sour cream, cilantro, cumin, hot sauce, and lime zest and juice in a small bowl and stir to mix. Serve or refrigerate in an airtight container until ready to serve or up to 1 week.

RTK note: While in Wilmington NC, I tried Texas Pete hot sauce for the first time and I love it! 

Image

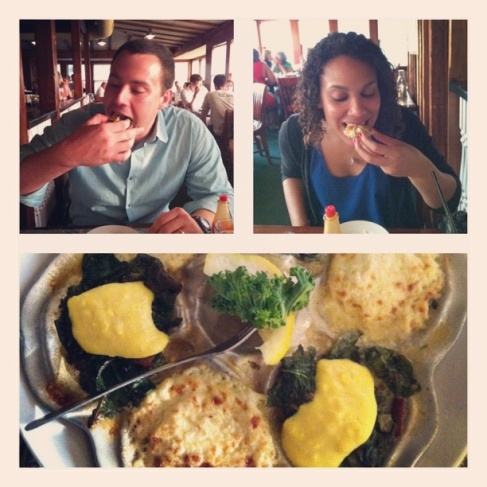
{See the hot sauce in the corner? Nick and I also tried oysters for the first time-delicious!}

Monday Reviews- My Father’s Daughter

Image

Monday Reviews:

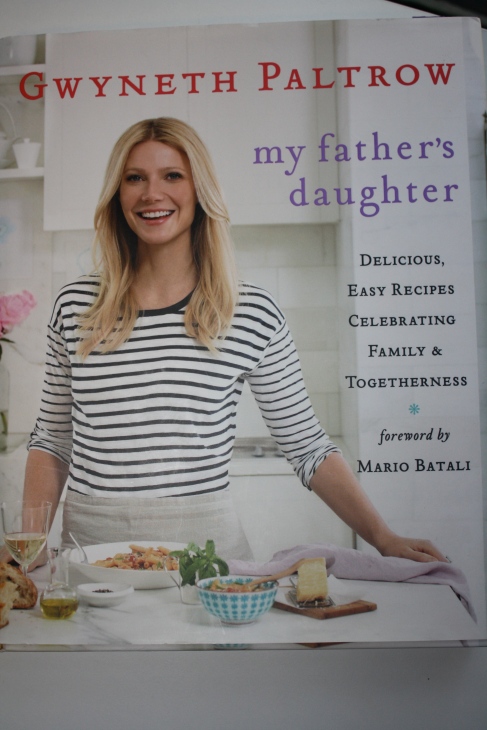
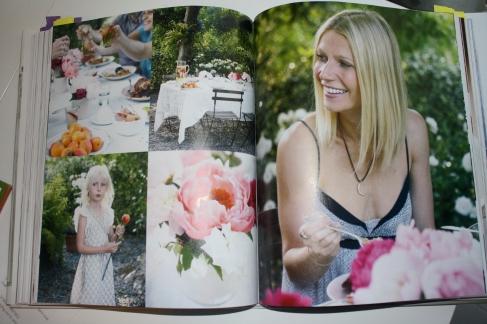
I’ve been married for almost four years now (where has the time gone?). Something Nick and I have gotten into the habit of doing is talking about our future kids. How tall will they be? What will we name them? Will they be outgoing like Nick or quiet like me? Around the time I bought my first cookbook, Nick and I really started to focus on where our food comes from. We planted a garden and started focusing on eating local and organic produce and meats. Part of that reason is for our own health benefits but the other part is we want to set a good example for our kids. Is that weird? I’m not even sure when we’ll have children but I’m already worried about whether they will get enough vegetables. Yep, that is weird. Oh well. I want to set a good example for them from the beginning and I know that starts with my diet. I can’t remember how I stumbled across Gwyneth Paltrow’s book, “My Father’s Daughter”. I think it may have been my cousin Angela who introduced me to it but it has quickly become my go to cookbook for dinners with friends and lazy nights in front of the TV.

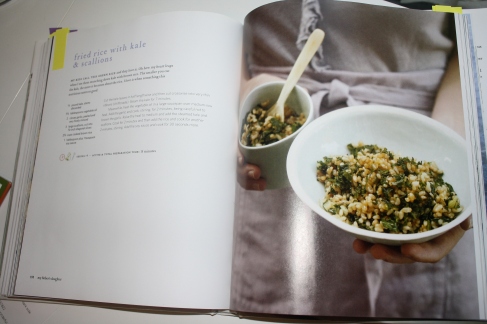
The thing that strikes me about this book is how much passion is in it. From the introduction, to the pictures, to the recipes themselves, you can tell Gwyneth has poured her heart into this cookbook. The recipes themselves are mostly based on fish and white meat and most can be turned into vegetarian or vegan meals. Gwyneth approaches her recipes as a working mom, so the food is accessible, unfussy, and comes together quickly. Alternately it is still elegant and delicious. Her love of cooking and eating with her children is what I hope I will strive for when I have my own.

I make this soup when I’ve enjoyed one too many treats and need something light but still filling. It is full of kale and onions and makes a great lunch.

Image

Recipe from My Father’s Daughter by Gwyneth Paltrow

White Bean Soup (version one)

(Serves 4)

  • 3 tablespoons extra virgin olive oil
  • 1 fennel bulb, stems and fronds removed for another use, bulb thinly sliced
  • 1 large yellow onion
  • 2 large garlic cloves, peeled and thinly sliced
  • Pinch red chile flakes
  • ¼ teaspoon dried oregano
  • ¼ teaspoon freshly ground black pepper
  • 2 14oz cans cannellini beans, rinsed and drained
  • 2 pints vegetable stock
  • 1 bunch kale
  • Course salt

Heat the olive oil in a large heavy soup pot over medium heat. Add the fennel and cook for 10 minutes, stirring occasionally. Add the onion and garlic, turn the heat as low as it can go, and cook for ½ hour, stirring here and there. A little color is okay, but you really want the vegetables to get soft and sweet. Add the chile flakes, oregano, and pepper and cook for a minute. Add the beans and stock, bring to a boil, lower to a simmer, add salt to taste, and let cook on low heat for 1 hour. Stir in kale leaves and let cook for 7 minutes, or until just cooked. Ladle into four bowls, drizzle with your very best olive oil, and serve.

Image

Bad Day Brownies

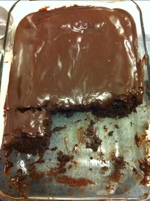
The beginning of this week was stressful and when I’m stressed I turn to baking. In a world of unknowns, I like the fact that if I measure out exact portions of chocolate, flour, sugar, and eggs I will be rewarded with a huge pan of brownies. These particular brownies are fudgy, covered in frosting, and the perfect antidote to a bad day.

Adapted from Design Sponge

Bad Day Brownies with Chocolate Frosting

4 squares (1 ounce each) unsweetened chocolate
2 sticks butter (1 cup)
4 eggs
2 cups sugar
1 1/2 cups flour
1 teaspoon baking powder
1/2 teaspoon salt
1 package (6 ounces) semi-sweet chocolate chips
2 teaspoons vanilla extract

1. Preheat oven to 350F. Place a bowl over a pot of simmering water (don’t let the water touch the bowl). Add chocolate and butter stirring until melted. Remove from heat. Cool slightly.

2. In a small bowl combine flour, baking powder, and salt.

3. In a standing mixer with a paddle attachment beat eggs and gradually add sugar. When combined, add the chocolate/butter mixture and beat well. Add flour mixture and mix until just combined then fold in chocolate chips and vanilla.

4. Pour into a greased 13″ x 9″ pan. Bake for 30 minutes. Set aside to cool before frosting and cutting.

Chocolate Frosting
Makes about 2 cups

2 squares (2 ounces) unsweetened chocolate
3 tablespoons butter
1 pound confectioners sugar
1 teaspoon vanilla extract
3–4 tablespoons milk or heavy cream

Use the same process that you did with the brownies to melt the chocolate with the butter. Remove from heat. Beat in the confectioners sugar and vanilla. Add a little milk or cream to thin to spreading consistency. Cover up those brownies with some frosting and enjoy!

RTK note: The original recipe included 1 cup chopped nuts. Feel free to add pecans, walnuts, or your favorite nuts when you add the chocolate chips. I also think these brownies are best on the second day, the frosting sets into a decadent almost fudge-like consistency.

20120701-150905.jpg

Monday Reviews- Stirring the Pot

Image

Monday Reviews:

As a young child I had absolutely no patience for picky eaters. I would watch disdainfully as kids from other families pushed food around their plates until they were excused from the table. At school I made sure to keep my coveted Lunchables away from the roving eyes of the picky eaters at the 3rd grade lunch table. And I always made sure to finish my meals, so as never to be confused with the “other” kids. You can imagine my embarrassment then, when my younger sister Madeline began shunning the dinners my mom would put in front of her. At first it was just salad. She would only eat it with French dressing, then she would only eat salad if she could dip the romaine leaves into the dressing. I watched in horror as she descended further down the picky eater slope, eventually eating only buttered noodles and McDonalds chicken nuggets. I thought all hope was lost until a birthday dinner at Olive Garden one night. She was presented with a huge plate of Chicken Parmesan. Fate intervened and Maddie added a new dinner to her repertoire. Her love for this dinner gradually expanded into more foods and our relationship -and my third grade reputation were saved.

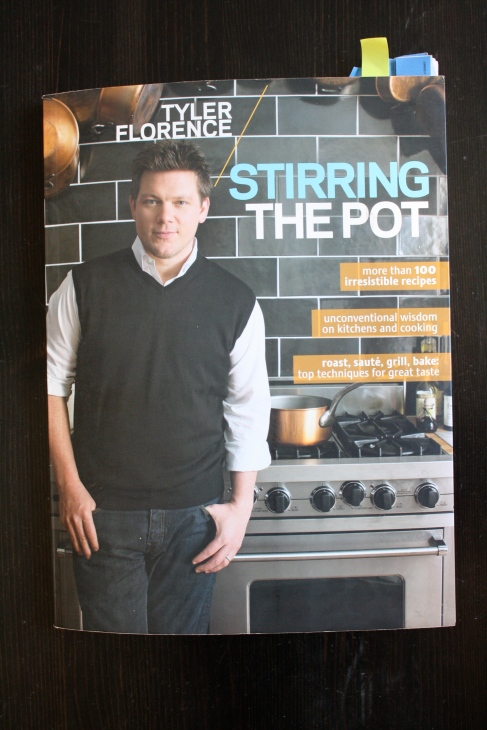
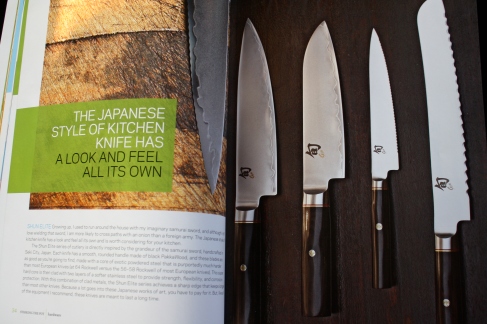
Stirring the Pot was the first Tyler Florence cookbook I bought and I love his style. The first chapter is devoted to de-cluttering and making the most of your kitchen space. It teaches you how to utilize your freezer, fridge, and pantry. He also shows you the knives and pans to buy at three different price points. 

The recipes in this book are simple and taste great. He breaks the second chapter into 8 sections: Roast, Sauté, Braise, Fry, Grill, Steam, Bake, and Fresh and Raw. He teaches you the basics of these techniques while providing you with delicious recipes. I love the acorn squash stuffed with cheese tortellini’s, his perfect roast chicken (covered with 2 sticks of butter!), and of course the Chicken Parmesan. This version is sautéed in a pan first and then placed in a hot oven to finish. The result is a crunchy, cheesy masterpiece that everyone will love no matter how picky they are.

Image

RTK note: To get a few more veggies into this dinner. I’ll sometimes replace the noodles with spaghetti squash. Also if I’m feeling especially lazy, instead of making the sauce below I’ll use previously made sauce from my freezer or a good jar of pasta sauce.

Recipe from Stirring The Pot by Tyler Florence

Chicken Parmesan

 (Makes 4 servings)

  • 1/4 cup extra-virgin olive oil, plus 3 tablespoons
  • 1 medium onion, chopped
  • 2 garlic cloves, minced
  • 2 bay leaves
  • 1/2 cup kalamata olives, pitted
  • 1/2 bunch fresh basil leaves
  • 2 (28-ounce) cans whole peeled tomatoes, drained and hand-crushed
  • Pinch sugar
  • Kosher salt and freshly ground black pepper
  • 4 skinless, boneless, chicken breasts (about 11/2 pounds)
  • 1/2 cup all-purpose flour
  • 2 large eggs, lightly beaten
  • 1 tablespoon water
  • 1 cup dried bread crumbs
  • 1 (8-ounce) ball fresh buffalo mozzarella, water drained
  • Freshly grated Parmesan
  • 1 pound spaghetti pasta, cooked al dente

Coat a saute pan with olive oil and place over medium heat. When the oil gets hazy, add the onions, garlic, and bay leaves; cook and stir for 5 minutes until fragrant and soft. Add the olives and some hand-torn basil. Carefully add the tomatoes (nothing splashes like tomatoes), cook and stir until the liquid is cooked down and the sauce is thick, about 15 minutes; season with sugar, salt and pepper. Lower the heat, cover, and keep warm.

Preheat the oven to 450 degrees F.

Get the ingredients together for the chicken so you have a little assembly line. Put the chicken breasts side by side on a cutting board and lay a piece of plastic wrap over them. Pound the chicken breasts with a flat meat mallet, until they are about 1/2-inch thick. Put the flour in a shallow platter and season with a fair amount of salt and pepper; mix with a fork to distribute evenly. In a wide bowl, combine the eggs and water, beat until frothy. Put the bread crumbs on a plate, season with salt and pepper.

Heat 3 tablespoons of olive oil over medium-high flame in a large oven-proof skillet. Lightly dredge both sides of the chicken cutlets in the seasoned flour, and then dip them in the egg wash to coat completely, letting the excess drip off, then dredge in the bread crumbs. When the oil is nice and hot, add the cutlets and fry for 4 minutes on each side until golden and crusty, turning once.

Ladle the tomato-olive sauce over the chicken and sprinkle with mozzarella, Parmesan, and basil. Bake the Chicken Parmesan for 15 minutes or until the cheese is bubbly. Serve hot with spaghetti.

Image